Folly Beach is a favorite source of inspiration for me. It is a barrier island and known as "The Edge of America," which inspired the name "On the Edge Studio." I enjoy working with 3 different themes- Traditional, Nature, and Mixed Media. This blog is a way to show my quilts and share some of their stories with family and friends.


Thursday, August 2, 2018

Working with Wax Batik

A friend and I have enjoyed learning a method of wax batik from a local artist, Mark Mulfinger.  I started with my own drawing on unbleached cotton and a wide band of wax on the borders.

 I added wax to the areas I wanted to remain white, then applied the dye and hung to dry.

 You can see the areas of green that I preserved before a new color was applied.

Many more other colors were added in a sequence which created this piece, entitled "Coral".  The piece is brighter than it appears in this photo.  It has been a fun and challenging experience.

Mono Printing with Dyes

A few years ago I took a workshop with Sue Benner.  We were experimenting with different methods of directly applying dye to fabric.  I really loved making mono prints and have since made several dozen.  Here are a few of my favorites:

"Blue Coneflowers" is a fairly large piece: 42" x 42" and made of silk.  It was drawn freehand with thickened dyes and other layers of unthickened dyes were also applied.  The dye was placed on a large table and the silk placed on it creating a mono print.  Free motion quilting added to enhance the design.  I love the look and feel of the silk.  It adds a soft luminescence.

 Another, smaller silk mono print, "Glowing Aloe" measures 20.5" x 21".  I used a similar process to the one above, though I was able to use a large piece of plexiglass as my surface for the dye. The silk fabric and golden colors really make this piece glow.


Thursday, July 17, 2014

More Ice Dyeing - with Denny

I really love the process and finished products from ice dyeing fabric. Denny had heard me go on about it and thought she would like to give it a try. So, a few weeks ago I gathered up my supplies and headed to her house for a wonderful day.
 As it turned out, I didn't need to bring any supplies for Denny. She has such an extensive supply of various items in her studio that she was all set. Here are the bins with my old oven racks on top.
 Look at all the dyes Denny has. She had a really great tip, which is to tape a color swatch of each dye color to the top of its container as an easy reference.  It doesn't show well in this photo.
 This is Denny with her 2 bins and a wire shelf over them. Do you see the fabric in the bin underneath? This is actually my favorite thing, to place fabric underneath that catches all the extra dye as the ice melts.
 Here is my dye - yellow and blues, a winning combination!
 I decided to take a photo of the dyes I use as a reference.  Robin Egg Blue is my new favorite color for ice dyeing.
 This is part of the set up for a parfait style ice dyeing in a plastic bucket.
This is after the ice and dye were added.
                                             
We both got such wonderful results. These above are Denny's.
These are 2 of mine on some bamboo rayon Denny gave me. They are wonderful, much better than the photo.

Wednesday, July 16, 2014

Fiber Art and Nature - 3 Perspectives

Mary Stori, Judy Simmons and I hung our latest exhibit at the Arboretum. It is entitled "Fiber Art and Nature - 3 Perspectives". The exhibit opened July 10, 2014 and is open until late September.  We were very happy to be offered the entire exhibit space at the Arboretum Exhibit Center for this lengthy show. Each of us has about 20 pieces on display, all of which are for sale.   We have hung the labels for each piece, but the details of tidying the hanging wires and exhibit signs were done after we left.  Here are a few photos of it when we left.
This is the entrance to the exhibit. It is a very large wall on which the exhibit signs will be hung. Our bios and artist statements will be hung next to each of our pieces. The 2 pieces on the left are Judy's, the yellow on in the center is Mary's and mine is on the right.
This large wall has some of Judy's pieces on the left and mine on the right.
This wall has many of Mary's pieces.
More walls with Judy's pieces. It looks much nicer after the hanging wires are tucked behind the pieces.
More of my pieces mixed with Judy's.
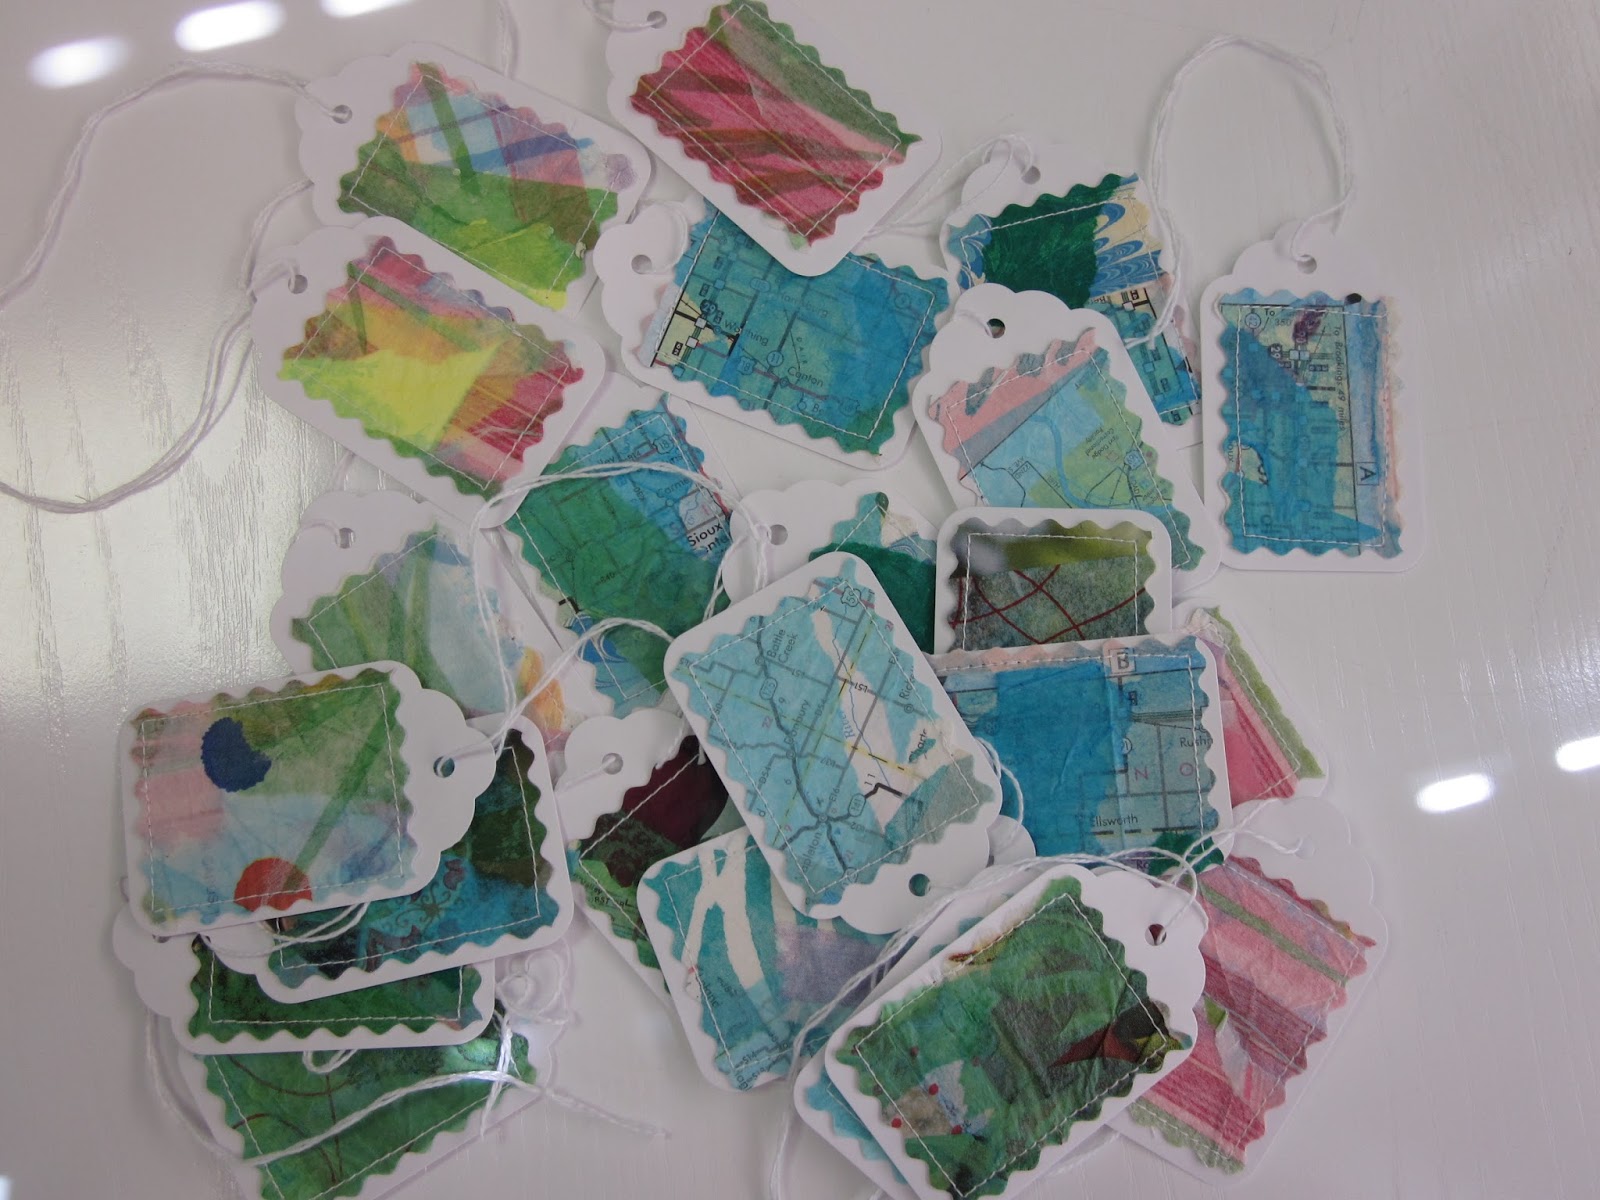
The smaller items look nice stacked , but the hanging system doesn't always accommodate it well.
We spent a lot of time arranging the pieces before we did any hanging.
Most of the time we arranged them by what looked best next to each other.
There was another long wall where we hung 5 of our large pieces.
Mary's pieces were on another wall.  Sure wish I had photos after the tidying up of the wire.
You can also check out our exhibit on the website of the N.C.Arboretum by clicking here.  If you are in the Asheville area, try to stop by. It is a beautiful Arboretum.

Thursday, July 10, 2014

Art Mob Exhibit

A few weeks ago I was juried into a new exhibit space in Hendersonville, N.C. which is a mountain community just south of Asheville.  It is called Art Mob and it features artists from the region.  I made the price tags from some paper cloth (shown in an earlier post) for this exhibit.
 Most of my marbled series are hung in this space.
Also some of my smaller pieces from the nature series are featured.  It is not a large area but it had plenty of space for the 18 pieces.
I am excited about this new venture and was so happy to see Art Mob featured in the newspapers in Hendersonville and in Greenville a week after I opened here.  Click www.artmobstudios.com/ to see their website.  Be sure to stop by if you are in the area.

Wednesday, June 25, 2014

Coral Floral

The past few weeks I have been inspired to pull out some projects I had started a while ago.  My latest piece had the top with its floral motif completed and was ready to be quilted.
I wanted it to finish it at 12" x 10", a nonstandard size in canvas wrapped frames. So I needed to make the frame myself.  I pieced 2- 10" and 2- 12" stretcher strips. Then I attached a piece of foam core cut to fit over the top. In this picture you can see the construction at the back. After covering with batting and fabric, I  pinned a matching piece of fabric for the back. I then hand sewed it on.

I stitched in leaves with a green variegated rayon thread to fill the background.  "Coral Floral" is completed and available in my Gallery Shop.

Paper Cloth Labels/Tags

The past week I have been preparing for some exhibits and needed labels/price tags for each piece.

Gen had made some beautiful ones for the PTA to use in an exhibit a few years ago. I just loved them.  So I thought I would make some for myself.

I started with some small pieces of the paper cloth I made last year.

I cut them to fit white tags I bought and sewed them on. Now I have several dozen.  I just love them.