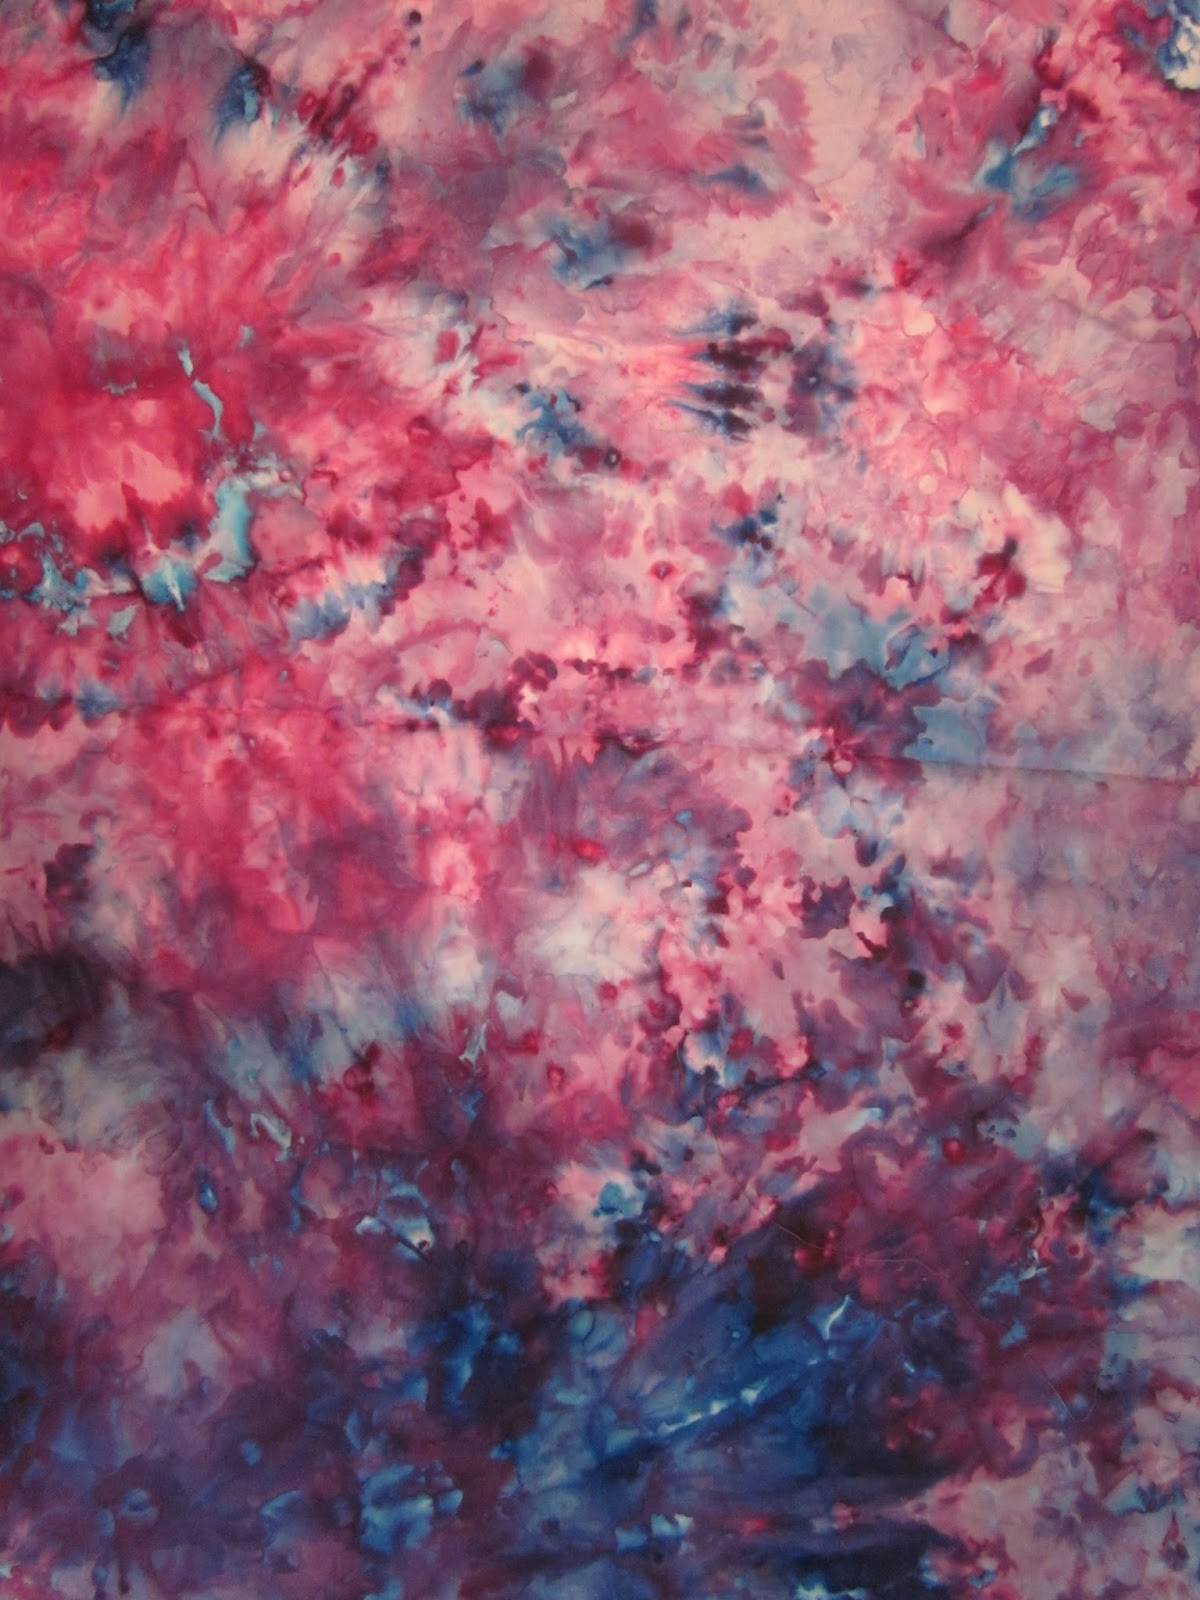
In this technique, soda ash soaked fabric was pleated in accordion style and placed around the perimeter of a microwave safe container.
A small amount of dye was poured in the bottom and pressed to the edges to encourage the dye to travel up the sides.
After about 10 minutes, it looked like this.
We each did several pieces with this method. Here they are after washing out the excess dye.Something new we tried this year was tray dyeing. This is the early stage of my piece in a cutlery tray. The fabric is soaked in ash solution, accordion pleated and laid in the tray with the folds up the sides.
We had also constructed 2 large trays from 1" x 6" boards screwed together to form a U shape and lined with plastic. This is Mary's. She has 2 of the 3 colors applied so far.
This is Judy's tray. Look at the fabulous migration of the color up the side to the folds.
I did a 2nd piece, in one of the large trays.
Someone had brought cotton batting to dye. We thought we would soak up the excess dye from our trays to dye the batting. Unfortunately, the dye didn't really take. We don't know why. It looked pretty potent, like the photo above before we washed it out.
This is my 1st one from the cutlery tray.
This is my 2nd one, done on cotton sateen.
We all agreed that our favorite technique is ice dyeing. Mary Kay sent me some of her very old dye powders to use for this technique. These are the 4 colors we selected to use for the 1st batch.Here they are on the wire rack. We each had a piece on the top of the rack and one underneath in the plastic bin which catches the runoff color.
All 3 of our pieces turned out very similarly. Don't think the old dye had lost any of its strength. The colors are very vibrant.
This is my fabric from the tray under the ice dye, which is often a smoother, really lovely application of the colors.Time to start a second batch. Again, all 3 of us shared the colors and the rack and tray space.
I just love the colors in this batch.


No comments:
Post a Comment
Comments? Love to hear them from you.