Folly Beach is a favorite source of inspiration for me. It is a barrier island and known as "The Edge of America," which inspired the name "On the Edge Studio." I enjoy working with 3 different themes- Traditional, Nature, and Mixed Media. This blog is a way to show my quilts and share some of their stories with family and friends.


Monday, December 2, 2013

Silk Scarf Dyeing with Procion MX Dyes

What a wonderful Thanksgiving with our family. My daughters were home and I thought a scarf dyeing project would be fun to introduce them to fabric dyeing. It was my first time mixing my own colors from the 3 primary colors at home. I ordered several silk scarves from Dharma.
 I had this box that I measured the dyes in. It helped to contain the dye powders so they didn't fly around my laundry room.
 For each scarf, my daughters chose 3 colors in the Sunshine color family of Carol Soderlund.
Time to mix the colors
 They soaked each scarf in warm water and arranged it on a tray. See the plastic cups with the mixed dye colors?
Each of the 3 colors was poured onto the scarf.
 We are mushing the scarf about to get the color everywhere.
This is what it looked like after we manipulated the scarf to move the dye.
This is Maggie's scarf. She is adding the fixative.
 We covered the scarves with plastic wrap to keep the air out and covered them with a towel to keep them warm.
We decided that was fun and so we did some more. I didn't have any more trays so we used these plastic bins that washed lettuce comes in to arrange the scarves and apply the dye.
 After the batching, I washed them in synthrapol in Hot water and hung them to dry.


We did 5 scarves in all.
Melanie is modeling hers.

Tuesday, November 26, 2013

Beading with Fiber Junkies

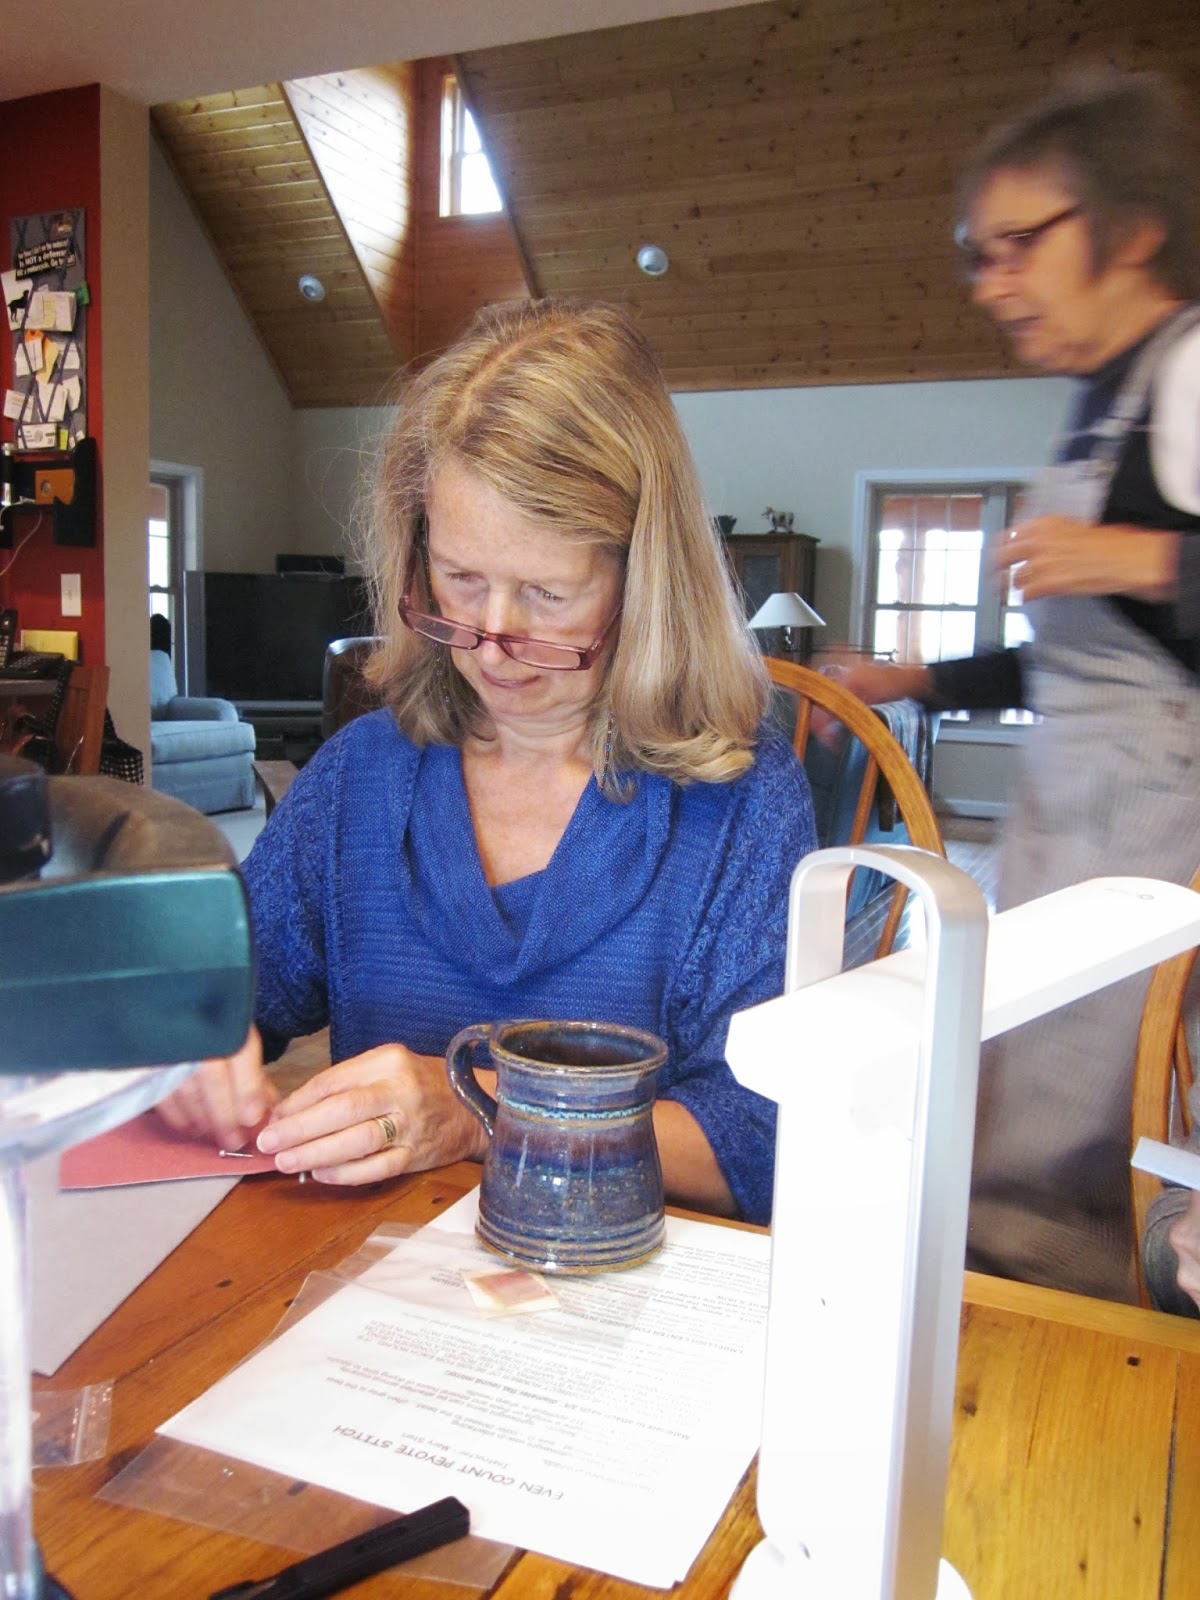
My Fiber Junkies group met recently at Mary's house for a wonderful lesson in beading using the peyote stitch around small mirrors. The same method could be used to bead cabochons or other small, flat objects.
 Mary is showing us the back of one of her beaded works of art.
 This is the kit she put together for each of us.
 This is an example of Mary's work with this stitch and a cabochon.
 I really love this one.  More examples of Mary's work can be seen on her blog and gallery shop. there is a link under My Blog List on the margin of this page.
 Judy is concentrating on her piece. Good light really helps.
 Gen is enjoying hers also.
 Val wasn't sure if she liked this at first, but it didn't take long for her to have fun.
 Denny is very focused.
 We had a feast for lunch, all of it homemade by Mary who is also a wonderful cook.
 Judy finished the first mirror by adding some lines of beads over the mirror. On the right is her 2nd one. That first row takes a while, but the other rows are so quick and fun.
 These are the 2 that I beaded. The one on left is just 3 rows of beads around the mirror. It went very quickly. The one on right I added a 4th row on the inside. I like that look. It was also very quick.  Such a fun time with such an excellent instructor.

Sunday, November 10, 2013

Fabric Dyeing with Carol Soderlund

Recently I had the wonderful experience of a 5 day workshop at ProChem in Massachusetts with Carol Soderlund.  The class had beginner to very experienced fabric dyers in it and there was plenty of information for all of us to learn.
 Carol is showing us a book each of us will make with all the fabric samples we will dye in the first 2 days.  There are over 1,000 colors we will dye.
 Here she is with packets of the fabric squares we will be dyeing. The edges were pinked which was really helpful in limiting raveling.
 This is some of the dye we measured. Believe it or not, the 2 rusty orange looking dyes in the dishes near the front equaled the same amount of dye, by weight, as that reddish orange colored dye in the dish at the back of the photograph.
 Anne, a member of my dyeing group, was prepared to stir the dye with her extra long rubber gloves.
We have measured the salt, water and dye to be ready to start.
 Here is a yellow dye bath.
 This is an orange one.
Now all the colors are in the washing machine to remove the excess dye.  
 Aren't they so pretty in the dryer?
 Our homework was to press all those squares of dyed fabric. Here is Carol with more members of my group showing the beautiful results.
 We cut the fabric into strips and sorted them to exchange with fabric dyed by the other groups.
It took quite a while to cut the strips into 1" squares, which we taped into our books.  This was only the first few days of the workshop. Next we learned about color gradation, overdyeing, making complementary colors, microwave dyeing and so much more.

Monday, November 4, 2013

Houston 2013

A highlight of the year for me is attending the International Quilt Festival in Houston. It is a wonderful opportunity to see a large number of quilts from around the world.  It also has a very large number of vendors with all the latest gadgets, fabrics and fun stuff.
 Here is a look at some of the vendors.
 An early stop is to this vendor to get an XL tote bag.
A new feature this year was the miniature golf to win spools of thread. Alas, my skills were pretty rusty and I did not get far on this course.
 Craftsy sponsored "Open Studios". There were 4 stations that each had demonstrations for 2 hour blocks. I really enjoyed visiting the ones featuring mixed media artists.
 The Open Studios was conveniently located near the food court.
 So many fun things on display.
And lots of fun outfits by attendees.

Monday, October 28, 2013

Paper Cloth with Fiber Junkies

Oh what fun you can have with some cloth and a bunch of paper and tissue scraps with glue to hold it all together! Gen was our guide with her previous experience in making paper cloth that we all admired.
 This is some of the papers we had collected.
 This is my tray with a piece of cloth on it, ready to start. Note the jar and glue. We thinned out the glue and used a sponge brush to apply it to the cloth.

 These are some papers I had cut and torn. I liked the maps and some wrapping paper. After I had laid some paper out, I couldn't wait to get started.
 So I spread the thin glue on the cloth and then added the papers with more glue.
 This is what it looked like after I added strips of tissue paper. Then I painted a really pretty blue wash that Gen brought over the white areas.
That was so much fun that I immediately did another paper cloth. The colors are pretty similar. I really liked the green and aqua tissue paper. More of that same blue paint was added. Do you see the red swirls? That was a tissue paper. I liked the movement of it and added it liberally to my cloth.
 This pink one was made by another fiber junkie, very pretty. Wish I took notes on who made what.
 I like this one with the yellow, made by Gen. You can see hints of her blue paint wash on the light areas.
 After lunch, some of us were inspired to have fun with paper napkins and tissue paper directly on the cloth. So there wasn't any magazine or other paper.  I really liked the striped and plaid napkins and threw in the polka dots and a leafy napkin. Then that same blue paint was added at the end.
Val had a pretty paper napkin at lunch that I really liked. It is the aqua swirl that you see above. I tore it and distributed around the cloth with a floral napkin and map pieces.