Folly Beach is a favorite source of inspiration for me. It is a barrier island and known as "The Edge of America," which inspired the name "On the Edge Studio." I enjoy working with 3 different themes- Traditional, Nature, and Mixed Media. This blog is a way to show my quilts and share some of their stories with family and friends.


Monday, October 21, 2013

Knoxville's Market Scene

There were a lot of food trucks at the Knoxville market.
What fun names they have.
The retro look was popular.
This was a particularly busy truck.
Here is a close-up.
Not too sure about what is painted on this truck.
The market had a lot of cafes also. This one had really bright orange chairs for all the UT fans.
There were dozens of vendors with fresh produce. It all looked wonderful.
So did the plants.
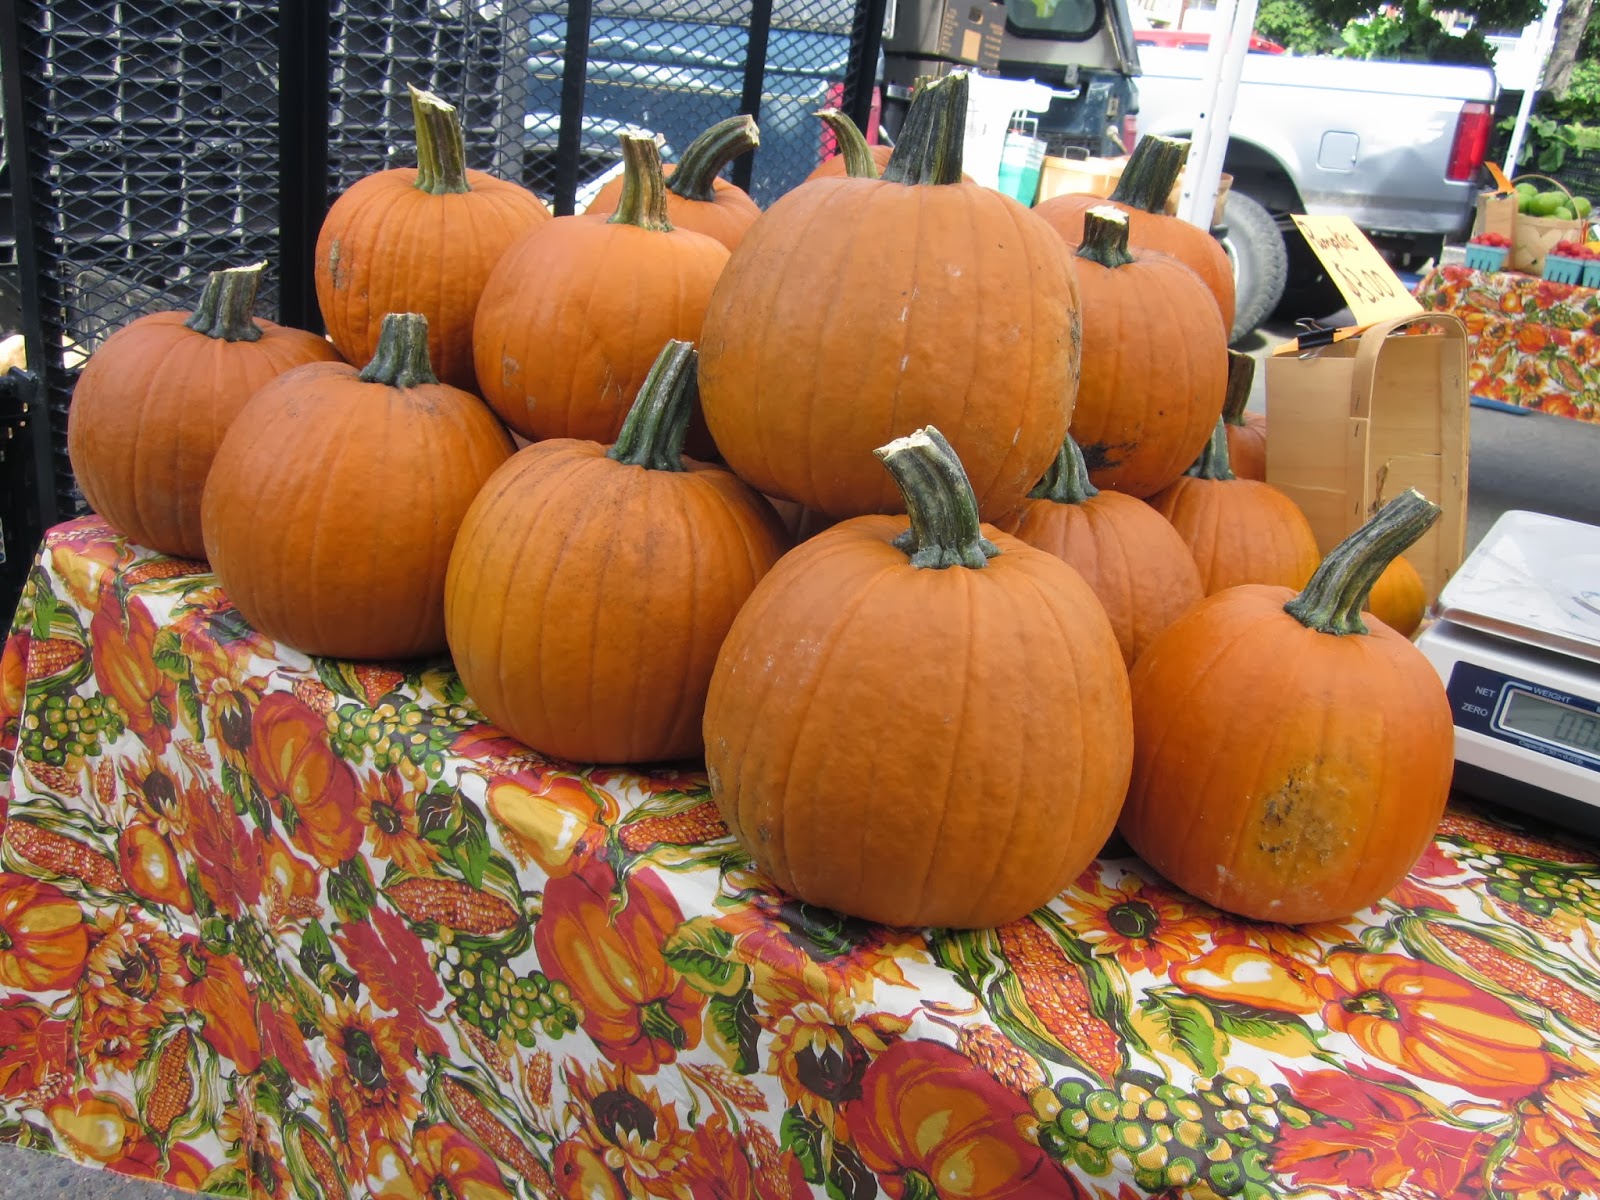
There were two sets of pumpkins, sorted by size.

Just love these huge baskets of flowers.

We bought some of the elongated radishes. Wish I could remember what they are called. Great in sandwiches.
These are mushrooms.
Such pretty colors.


These melons have character.

More mushrooms. The ones above are growing out of the plastic bags.
These are dried.

I didn't know they could grow out of bags, hanging around...
I found all the mushrooms fascinating.

Knoxville and Fiber

We were in Knoxville on a recent Saturday and went to the Market downtown. It was a really busy, fun place to be. I particularly enjoyed the booth where a woman was knitting socks, on a machine! I haven't done any knitting since I was in college, and not much then. But I have been most interested in the knitting of my fiends, particularly hand knitted socks.
It is hard to see the machine well, but you can see the green and orange skeins of wool. They go up through the thread stand that hangs over the knitting device.

The knitter is attached to a painted stool. There is a hand crank to turn the yarn around the inside of the round device.  See the weight hanging below? It holds the sock in place as it is knitted.

In this picture you can see the inside of the round device where all the knitting action is.

Look at these beautiful wool yarns. A few are commercially available, the rest are hand dyed by the knitter.

These are her socks for sale. Aren't they great?!

This is another booth with hand dyed scarves and fabrics sewn into garments.

Friday, October 11, 2013

Indigo Fabric Dyeing, Shibori Style

A few months ago, the Fiber Junkies enjoyed trying their hand at Indigo dyeing, led by Judy. She had shown us some beautiful examples of fabric she had manipulated and dyed.

I thought it would be nice to stitch up some fabric for an indigo dyed shibori.
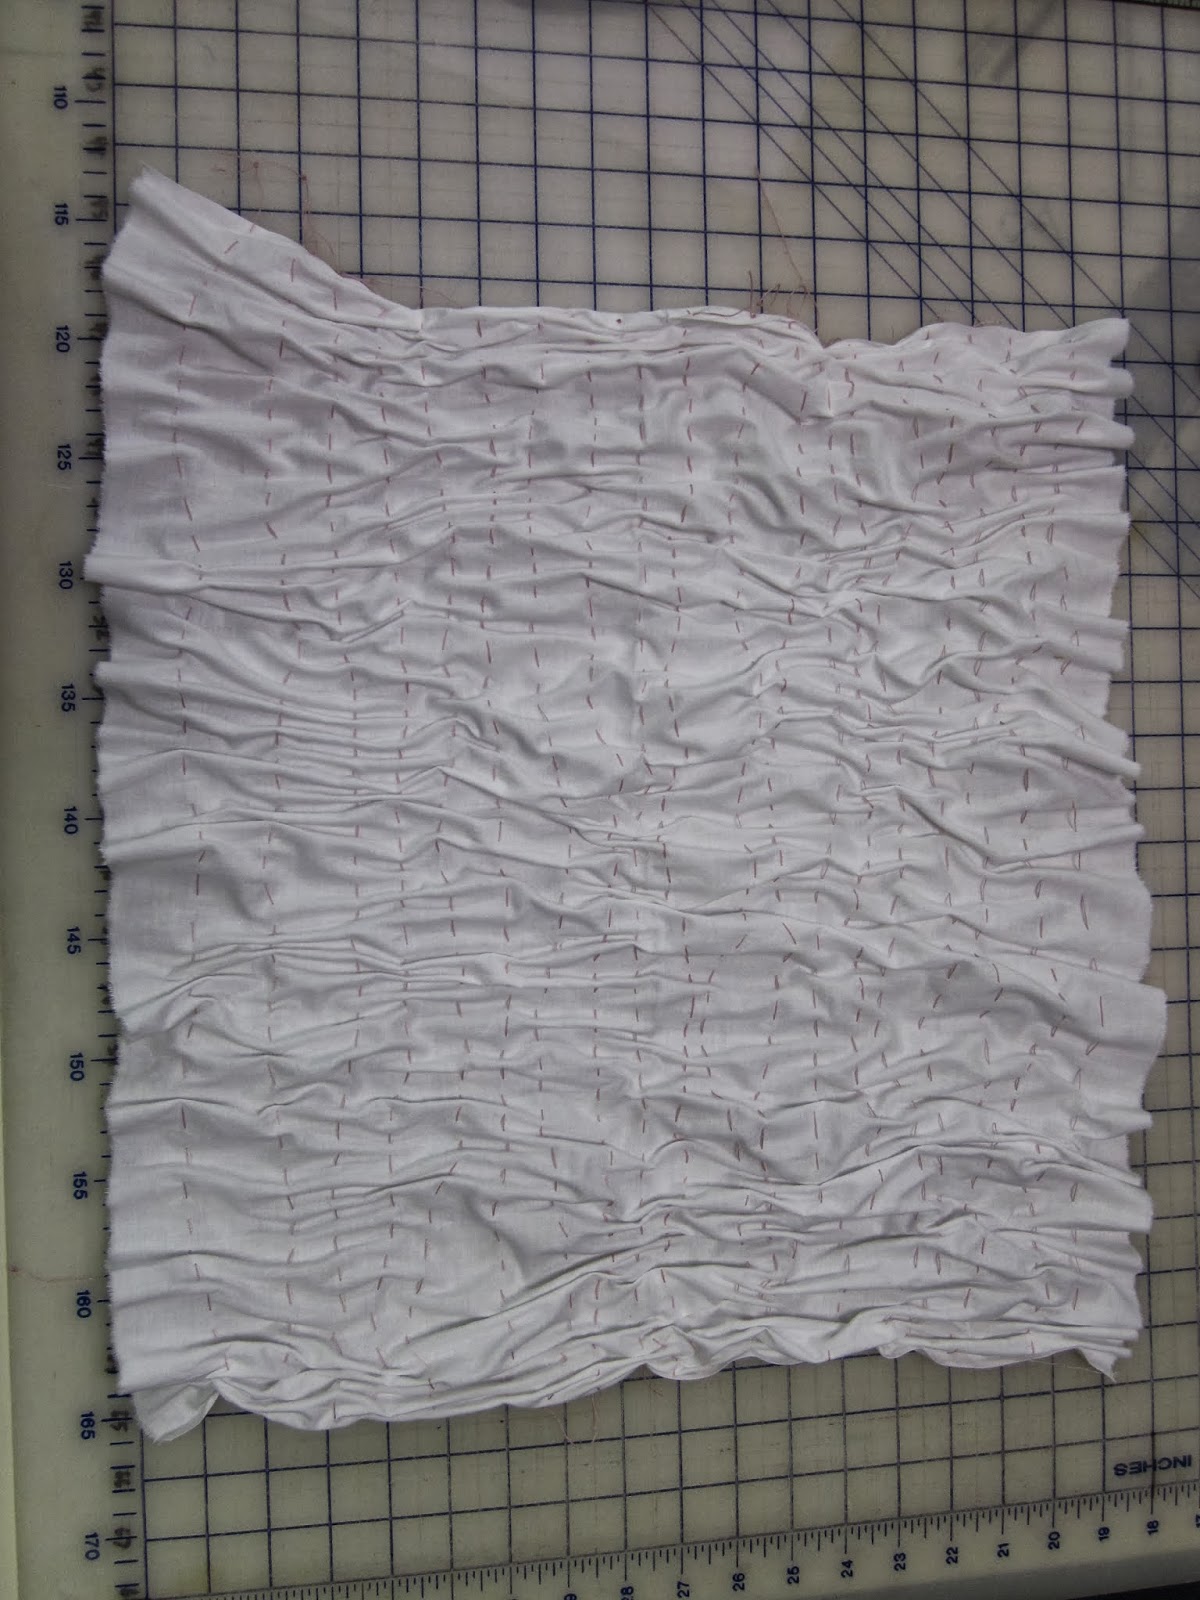
 This is the fabric I hand stitched before the "big day".
 This is what it looked like after I pulled all the threads tightly and knotted them off.
This is another piece of fabric that I folded, accordion style. Then I placed an old slide on each side of the folded fabric and clamped it all together.  We had each brought a large variety of items to use to fold or scrunch or somehow manipulate the fabric prior to dyeing.
 This is a bucket of water with quite a few of our fabric pieces after they were wrapped and ready to dye. We needed to soak them before putting them in the dye bath.
Here is Denny, ready to go at the buckets.
This is the bucket with the indigo. The bubbly, foamy looking stuff floating on the top is called the "flower".
Judy is removing the flower before we put our fabric in the bucket.
Val stirring the bucket to make sure all our fabric pieces are in the dye. We had 2 buckets going. You can see that the bucket in the back by Judy has a few plastic rods with fabric wrapped on them.
After soaking for a while, Denny removed the fabric from the buckets and we hung them on a clothesline to dry.

 Some of them were so heavy, we laid them on the lawn to dry.
Those extra long gloves Denny brought were really wonderful.
We did two batches of dyeing.
Then we unwrapped our fabrics and hung them to dry some more. Look at all that wonderful fabric.
 Above is a piece of my rusted fabric. See it and another piece of rusted fabric below after the indigo dye?
 Below are 2 more of my pieces.
 The top one I wrapped marbles to create those smallish circular areas. The larger area on the right was a wrapped plastic hair curler. the lower piece was folded. See the funny shapes at the edges? Those are the impressions from paper clips.
 This is the fabric I had sewn and was pictured at the top . On the left you can see where there is still a little thread in the fabric.
 The circular areas on this piece were where I had wrapped empty thread spools.  It was all a lot of fun. The most time consuming part was preparing the fabric.

Wednesday, October 2, 2013

More Modeling Paste Fun on Paper and Board

Fabric is really my favorite medium, but sometimes paper can be fun to work with.  Gen does a lot of work with paper and had prepared more projects for the Fiber Junkies with the modeling/fiber paste. She had her computer set up with a nice tutorial she had for us to look at.


This is one of several pieces that she made for us. It is a thick layer of the paste through a simple stencil on heavy watercolor paper. I really like the design. The idea is to use it as a stamp with paint. I wish I had taken more pictures of this used as a stamp. I didn't want to get paint on mine.


Another idea was to create a picture with the paste on these small gesso covered boards.  Some of us painted the boards first.

 
Gen painting her board. On the table are Judy's, Mary's and mine.


This is the board I painted and then after it was dried, I used that tree stencil of Gen's that I really liked. There is a bit of the green paint in some of it. I liked the way the paste was sufficiently sturdy that it remains attached over the edge of the board.

Tuesday, October 1, 2013

Fiber Paste & Modeling Paste Fun

Yesterday was a very fun day with the Fiber Junkies experimenting with fiber paste and modeling paste on paper and fabric.  Gen had some experience with these products and we admired a piece she had made with fiber paste. This is it below. Isn't it pretty?


The materials needed were the fiber paste or modeling paste product, stencils, and a spatula or old credit card. 


 Then we selected some fabrics and stencils and used the card/spatula to spread the paste over the stencil. 

 Here is Val spreading the paste through a stencil. 
 
Here is Mary (and a little bit of Denny) having fun. She also used a paste with "glass" beads. It was very pretty when it dried, It looked clear and colorless. Check Mary's blog for more pictures.

Some of us used a thick amount of the paste. I tended to keep my layers thin.  I also liked to only fill part of the stencils. This lets the eye fill in the parts.

 So, this is the stencil I liked.
 
This is it on my fabric with the paste filling in part of the stencil. 
 
We set the fabric outside to dry.

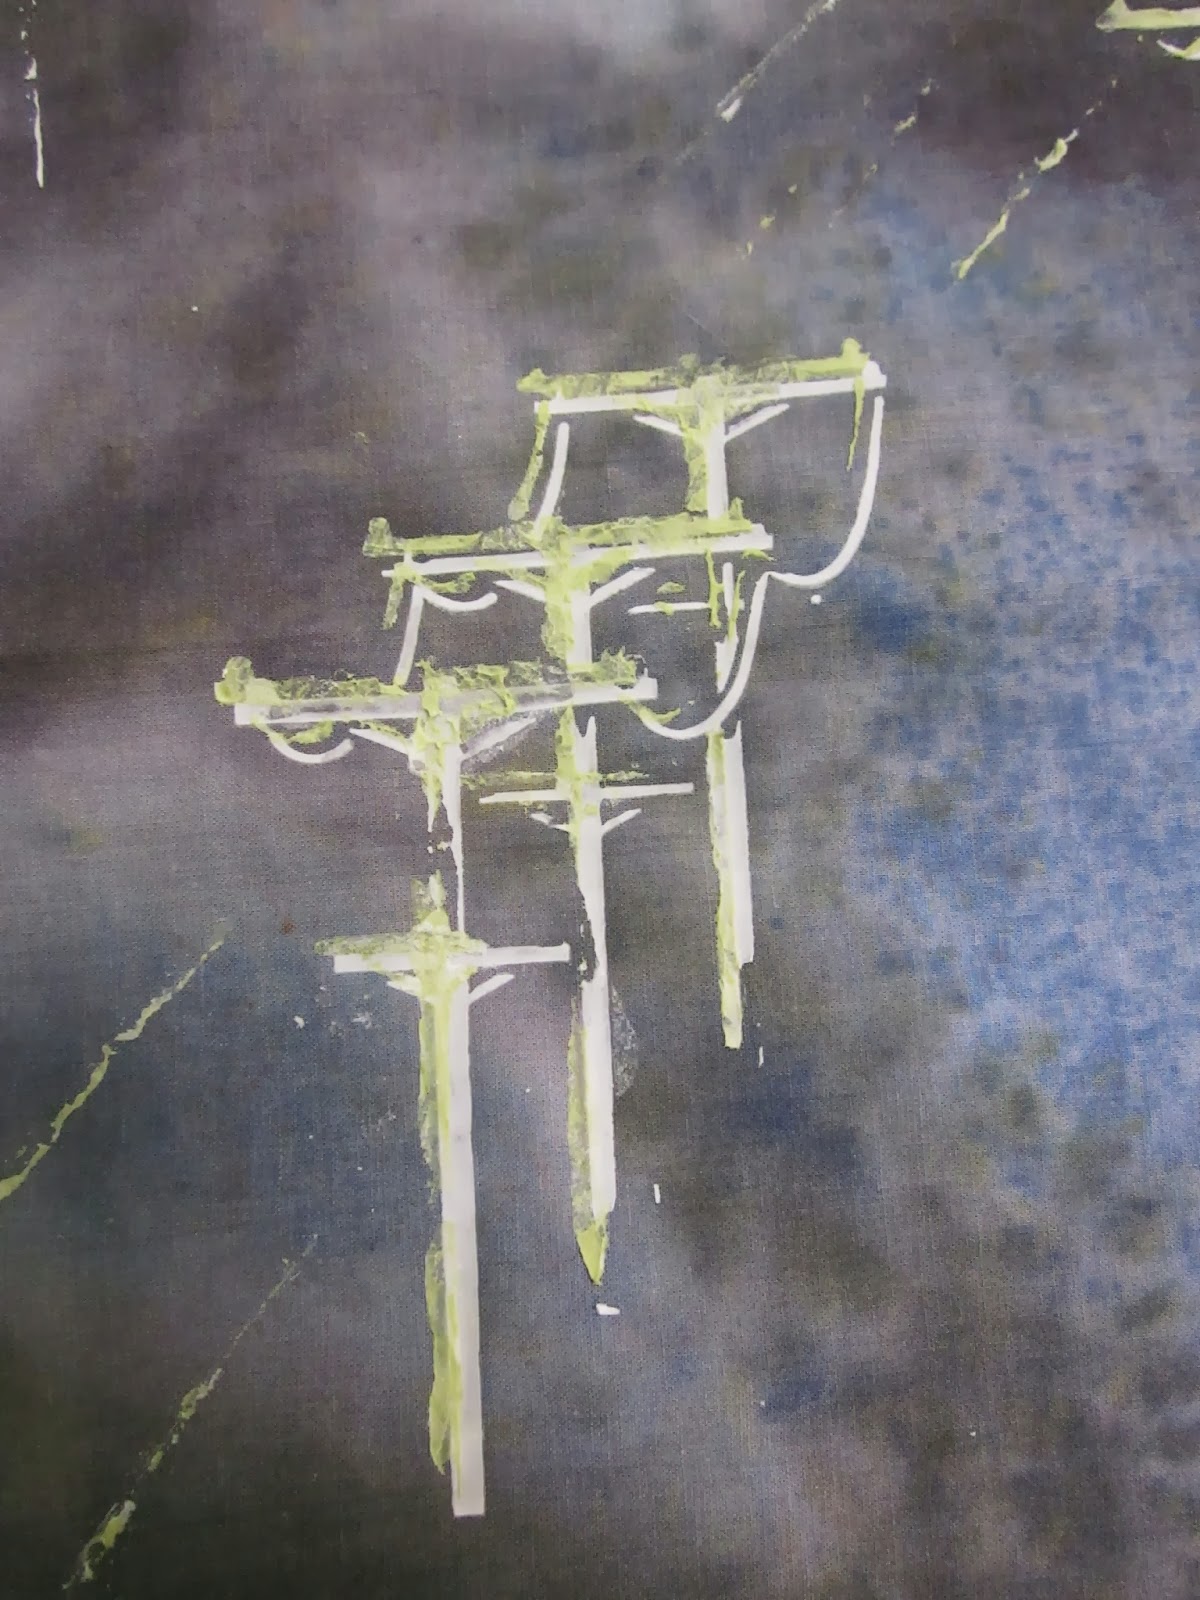
I thought it would be fun to add paint to my modeling paste. So I added green, my favorite color. This is a container with the colored paste.

I wanted a little depth by adding the green.
 
 Another stencil I liked had a brick pattern.  I put it on some fabric I had rusted a few years ago.
 
The blog site has turned this picture sideways, but you get the idea.
 
This is a piece of  fabric I had dyed and printed.
 
This is it after the modeling paste with a few different floral stencils. I did the 2nd layer in green on this piece also.

It will be interesting to see what we do with these pieces.